
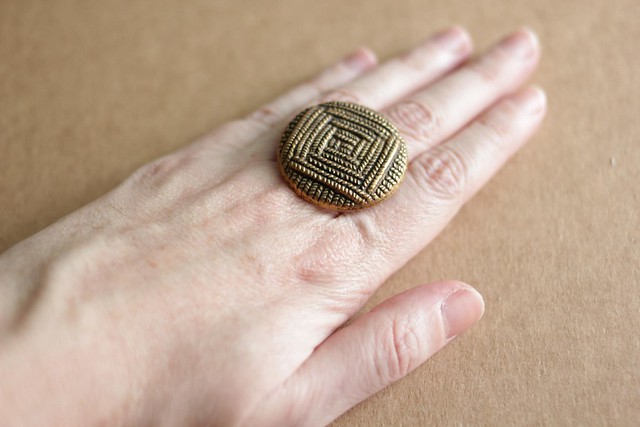

DIY Button Ring Tutorial
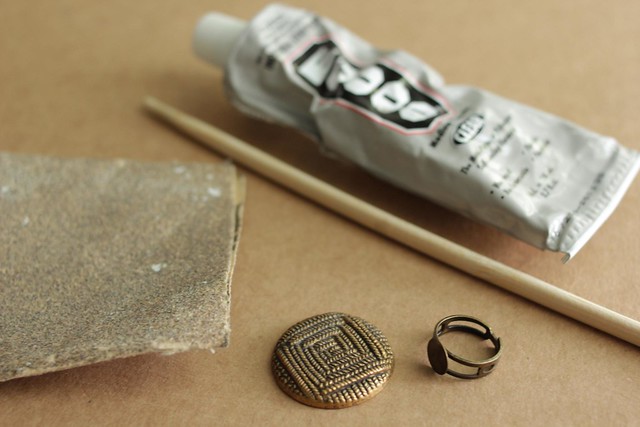
Materials
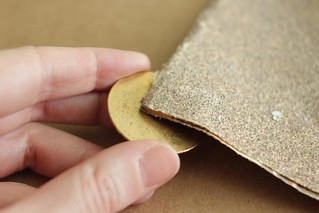

Step 1
Using the sandpaper, gently sand the back of the button, and the flat surface of the ring blank. The flat smooth surface of the button/ring blank doesn't give the glue enough to really bond to, so by roughening up the texture a bit it will make your glue hold better. Make sure you don't go crazy here, and try to only sand the button where the ring blank will attach.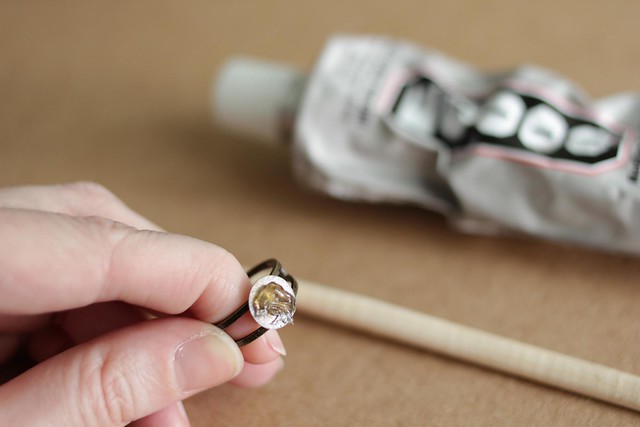
Step 2
Apply a small dollop of glue with your chopstick to your ring blank. The key here is not getting too much. You want enough so that when you press the ring on it forms a solid layer, almost forming a suction, and only the tiniest bit peeks out the edges, but not so much that you have to wipe it off.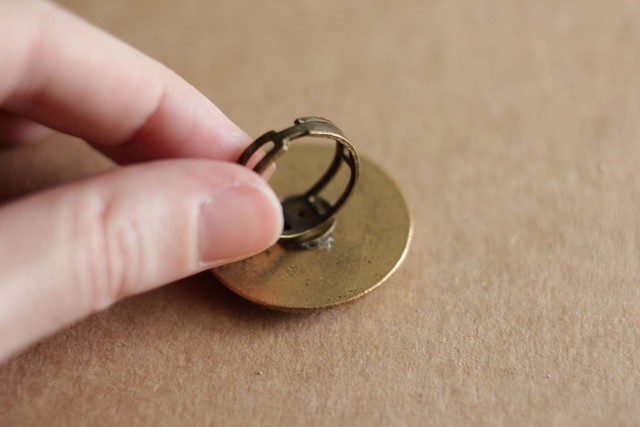
Step 3
Now press on your ring gently just enough that the glue spreads evenly across and you have a nice layer of glue in between. Don't press too hard where you squeeze all of the glue out of the sides. Now, set it aside and let it dry for a good 24 hours before you wear it.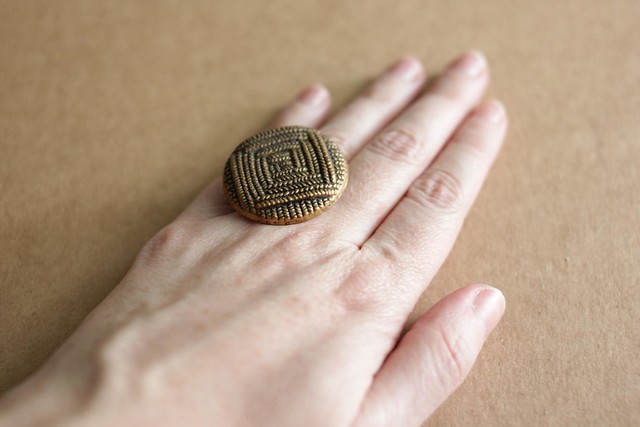 Now you have a new ring! You can get pretty creative with these, and soon you'll be looking for anything with a flat surface to make rings out of. You can also make rings from geode stones with a flat back, vintage pendants, sliced agate, stone chunks like pyrite, or even little knit items like bows or hearts.
 You can check out my statement rings in the shop, or have a look at my other DIY patterns.
8 comments:
I recently found some amazing earrings that didn't have their mates. So, I finally got around to getting some ring blanks and went to town. Except, I got a flat and didn't get out of the driveway. I used super glue. Didn't hold. I used my hot glue gun. That didn't hold. I felt defeated. I am so glad you shared this. I am getting some of that heavy duty glue and some sandpaper tomorrow. Thank you!!
Beautiful! I love interesting old buttons ... what a fun way for them to live on in a new way. :D Thanks for the tutorial Stefanie! :)
I love this!!
what a great DIY! Love this tutorial :D Xox <3 hautepinkpretty.com
Lovely! I've gotta get me some hardcore glue. (That sounded weird.)
what a great idea! i have a huge container of old buttons that belonged to my grandma. i will have to try this!
This is amazing!! Thank you for this!
I loved this diy post :)
It's just amazing!!
Bubble my Licorice
Post a Comment