DIY Bracelet // How to make a chain bracelet tutorial
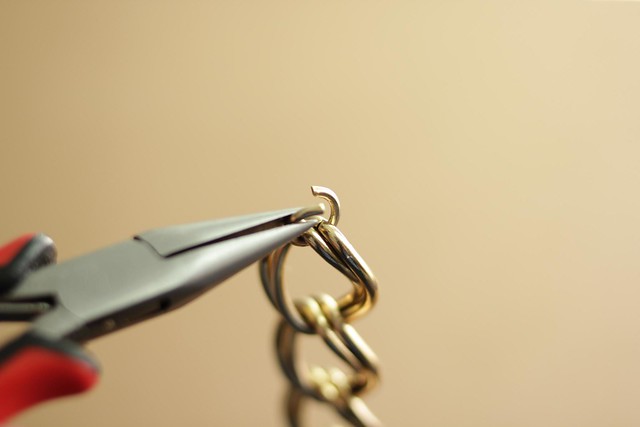
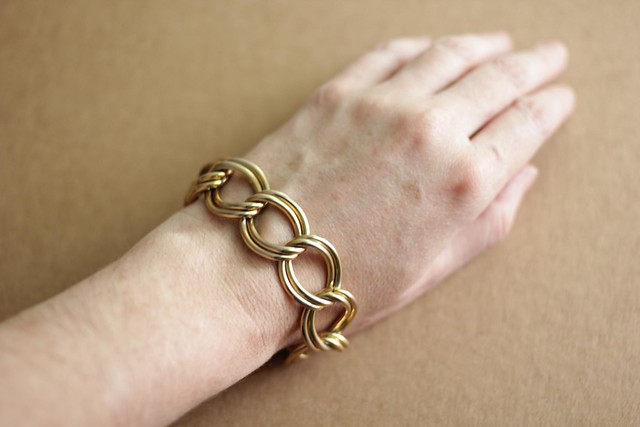
Here's a tutorial on how to make a basic chain bracelet, for your very own DIY bracelet arm party. I like the look of colors of the crazy circus arm, with friendship bracelets, chain bracelets, rhinestones and bangles, but sometimes it's nice to have just a simple, basic bracelet to throw on. The good thing is, this chain bracelet stands alone well, or can serve as a foundation to a crazy arm circus. And, the technique is simple, and you can apply it to any chain you find, so you can make all kinds of different styles.


 Pin It


2 comments:
The easiest way would be to measure a bracelet you already have. Even if the bracelet is too small or too long it is a good starting place for you.
Yes! that is an excellent point. So many of mine are too big and having this custom fit is fantastic.
Post a Comment