
Keep reading for the pocket pattern/tutorial, or you can check out my other DIY patterns.
 Pin It
Step 1: Print out the pocket pattern (And start hoarding your snacks)
Download and print out the pocket pattern; cut out 4 pocket pieces. (the pattern stretches a little into the margins — sorry, i like big pockets!)Step 2: Rip those Seams
Beginning about 3 inches below the natural waistline, start ripping the seam until you have a 10" hole. **Note, this is your natural waistline, which is much higher than where your pants waistline is. Your natural waistline is a few inches above your belly button.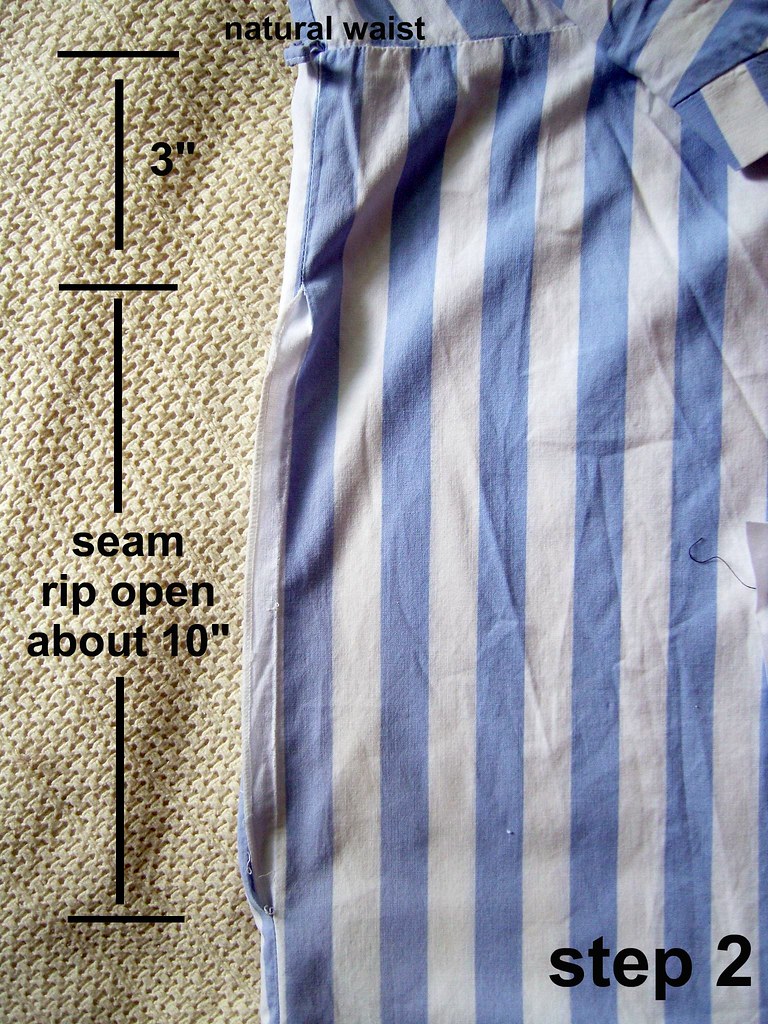
Step 3: Sew your Pockets
Place 1 pocket piece on the front of the skirt, right sides together, 3.5" below the natural waistline, lining up the edge of the pocket with the edge of your skirt. Pin in place. Now do the same thing on the back of the skirt, pin another pocket piece, in the same location (also, right sides together).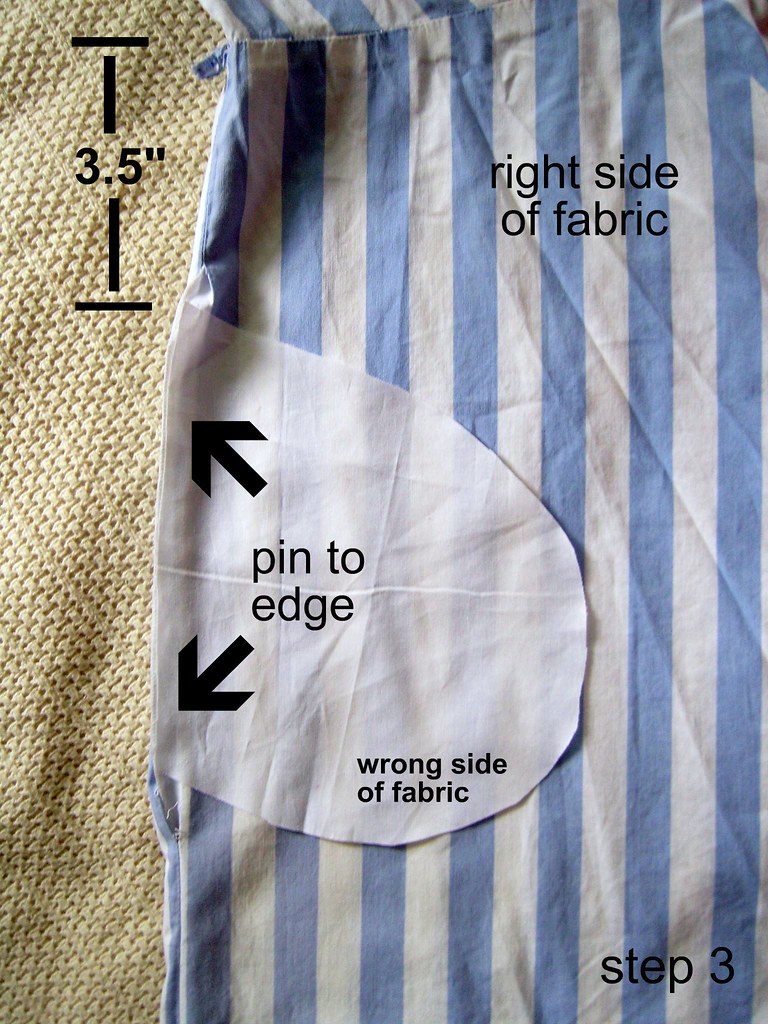
Step 4: Start Stitching
Stitch the front pocket to the front of the skirt, using 3/8” seam allowance. Stitch the back pocket to the back of the skirt the same way. (You are using a 3/8” seam allowance so that in the end, your pocket fabric actually starts a little inside the skirt seam allowance…making it invisible from the outside)Step 5: Press
Press the seam open...
Step 6: Press again
...then fold over the pocket and press it flat.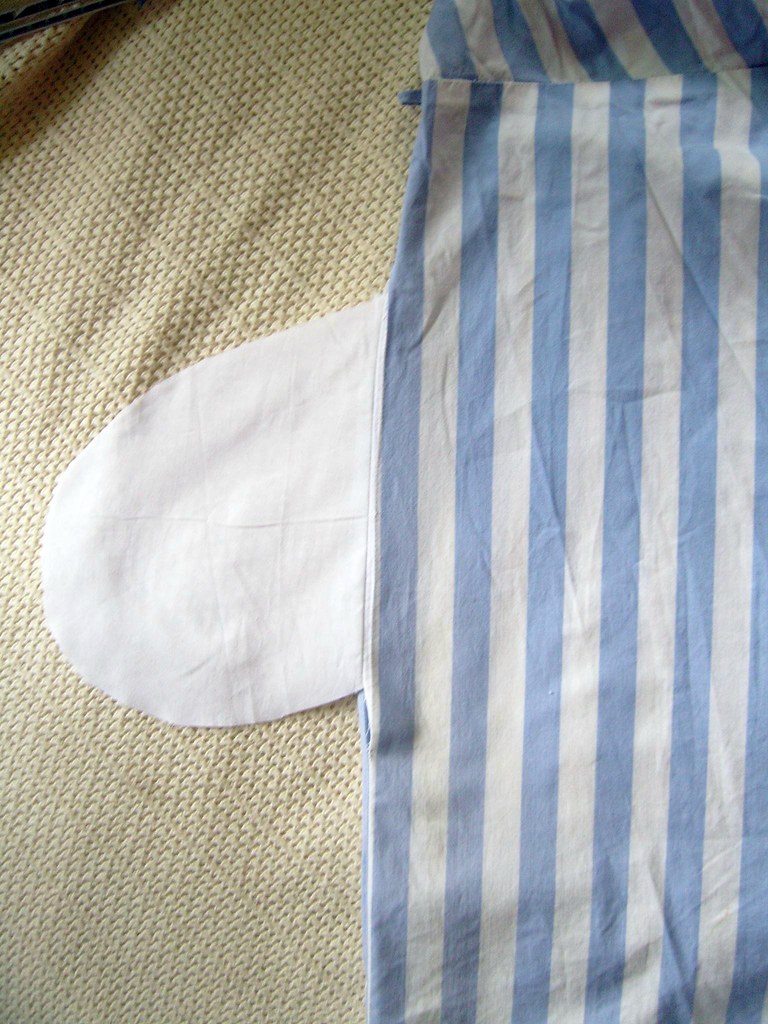
Step 7: Stitch all the way around
Turn your skirt inside out. With front and back skirt pieces right sides together, stitch along the seams and around the pockets using 5/8” seam allowance…in one continuous stitching line. Make sure your seam allowance matches the existing skirt seam allowance, and stitch over the existing side seams at the top and bottom just a bit to make sure everything is put back together nicely.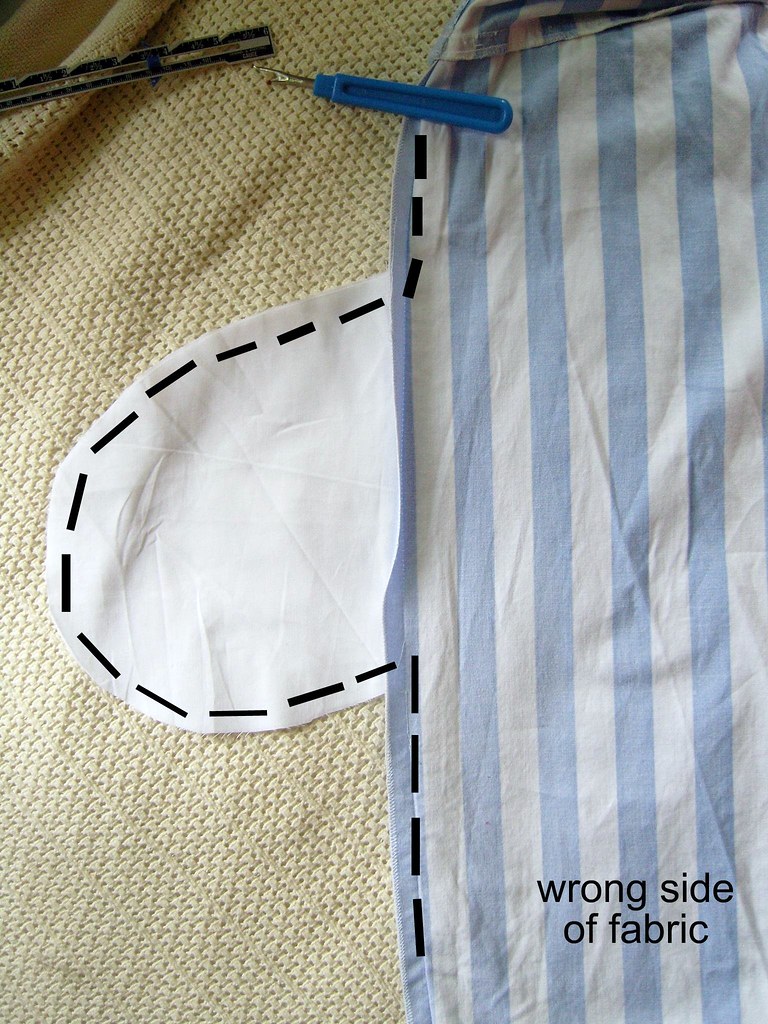
Step 8: Clip and snip
Clip into the seams where the pockets join the skirt. (This makes your seams lie flat without any bunching.)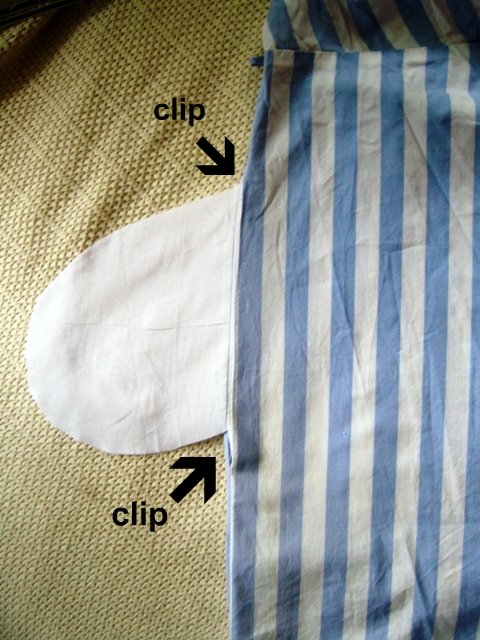
Step 9: Finish things up
Press side seams open. Turn right side out.Now, repeat steps 2-9 for the other side of the skirt.
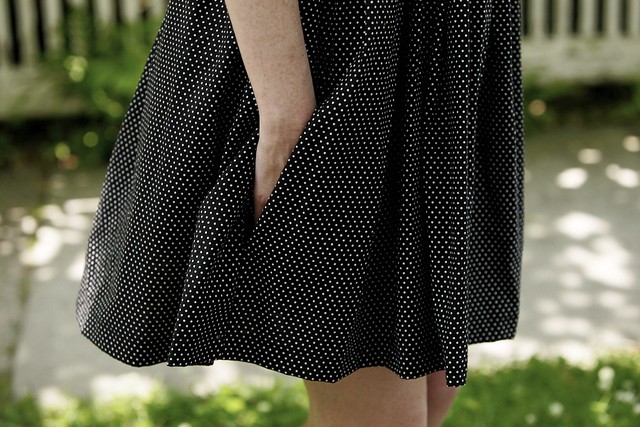
Now fill them up with stuff!
5 comments:
Thank you soooooooooo much for this, I love pockets in skirts and dresses, only problem is ow I have to go and rip up my entire wardrobe!
Jess x
what an awesome post! thanks for the pattern pieces too... my wardrobe will never be the same...
How awesome! I've been thinking about adding pockets to a light jacket and this might just give me enough courage to give it a try!
Thank you for the tutorial - I usually don't buy dresses without pockets because it's just so much more convenient to have pockets!
Next time I'm out thrifting I'll keep an eye open for dresses without pockets so I can give your tutorial a try :)
I'm bookmarking this one, it might come in handy one day ;-)
Post a Comment