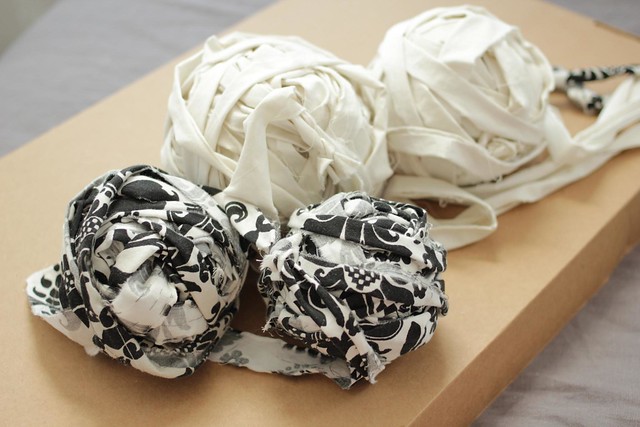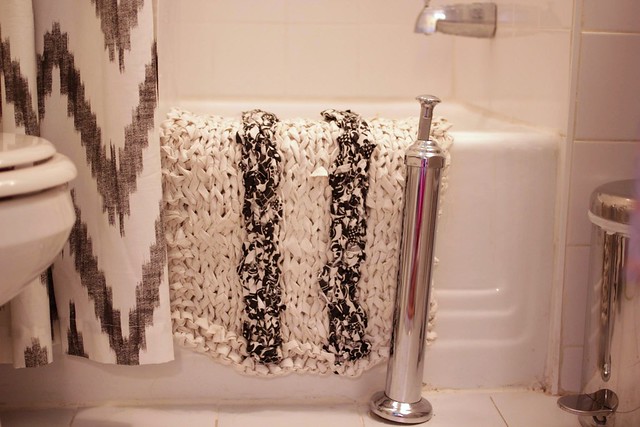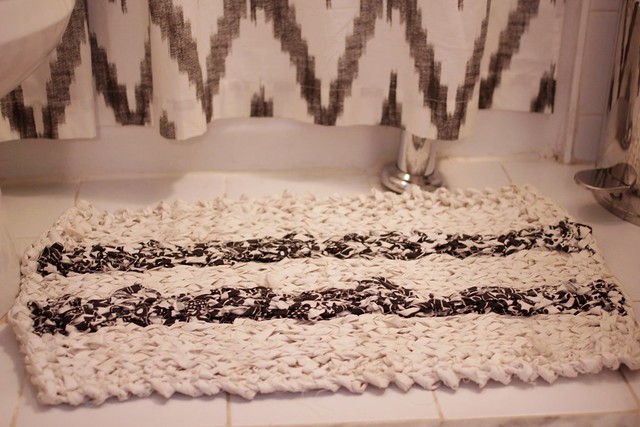

to make this, I only needed 1 side of a king size duvet cover and 2 pillow cases (and still had leftovers). when making them into 'yarn' i kept the pillowcases separate to easily make the fair-isle stripes, and 1 continuous ball for the main color.

to knit, i started with my main color, used 1 pillowcase for the first stripe, carried over my main color for the middle stitches, joined in my second pillowcase for the 2nd stripe, then again carried over my main color for the last set of white. since there is a fair amount of carrying over, i made sure to keep my yarn loose, and always carry over on the wrong side. the knitting on this is pretty simple -- just stockinette stitch with garter stitch borders (on all edges).

Striped Rag Bath Mat Pattern
Gauge: Varies - determine your own gauge to custom fit your matNeedles: size 19
Yarn: made from sheets/duvet cover and pillow sheets
Finished mat size: 27" long
CO 22 stitches
Bottom Edge
row 1(right side): k2, k4 in main color A, k3 in contrast color B, k4 in color A, k3 in color B (by joining a second skein of B), k4 in color A, k2row 2(wrong side): knit across row, making sure to knit with contrast yarn B as you come to it, and carrying your main A yarn in the back of your work
row 3(right side): knit across row, continuing your contrast yarn vertical stripes
Middle
row 4 (wrong side): k2, p til 2 sts remain, k2row 5 (right side): knit across row, continuing contrast yarn vertical stripes
repeat rows 4 and 5 until about 1.5 inches before desired length
Top Edge
row 1-2: knit across row, continuing constrast yarn vertical stripesrow 3: knit across entire row ONLY using main color A (discontinue stripes)
BO all stitches
CO = cast on
k = knit
p = purl
sts = stitches
BO = bind off


3 comments:
I love the way you used non-traditional materials for your rug- it turned out really nice!
This came out pretty cool. I love how it can look so different depending on the fabric you use. :)
Nice job! Matches the whole feel of your bathroom really well.
Post a Comment