
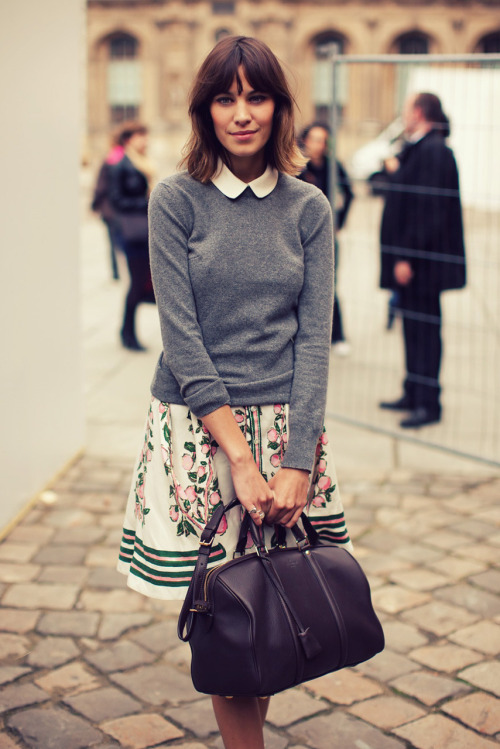
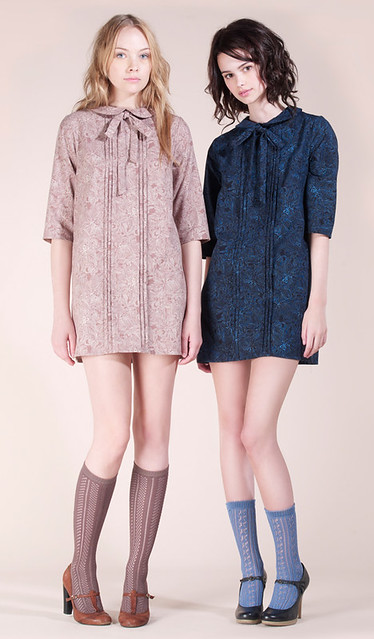
alexa chung & nadinoo
DIY Peter Pan Collar Pattern
the detachable peter pan collar pattern comes in 2 different styles: mini peter pan collar and the pointy detachable collar. Both printable collar patterns are available in an 11 page booklet full step-by-step instructions, pictures, and sewing tips in the shop. You can read below for a description for a quick tutorial and an overview of the collar instructions, if you have your own pattern.


Materials & Supplies
* Pattern: mini peter pan, pointy collar, or your own* 1/4 yard of fabric (cotton or a lightweight woven)
* Optional: 1/4 yard of light-med fusible interfacing
* 2 feet of ribbon (I used about 1/4” grosgrain)
* Notions: thread, scissors, tailors chalk, pins, needle
* Tools: home printer & 8.5" x 11" or A4 paper, sewing machine, iron
DIY Tutorial: How To Make The Collar


Step 1.
print out or make your own collar pattern. this pattern is designed to fit really close to your neck, to overlay high-necked dresses and blouses. if you want a deeper neck collar, or one that is perfectly fit to a specific neckline you have in mind, you can make your own pattern. just lay paper over the neckline of your shirt/dress, and trace around half of the collar (mid front, around the side to mid back), extend it out about 2.5” and round your front collar edge.Step 2.
cut out your fabric and interfacing. double your main fabric, right sides together, and cut out 2 of the collar patterns (with the doubled fabric, that makes 4 pattern pieces). Optional: if you're using interfacing, then double your interfacing, right sides together, and cut out 1 pattern piece (which results in 2 interfacing collars). Iron your interfacing to 2 of your collar piecesStep 3.
with right sides together,stitch 2 of the collar pieces at the back seams with a 1/2” seam allowance. repeat for the other 2 collar pieces. press seams open (important! don’t skip that!) and finish your seams (i cut them with pinking shears.) now you should have 2 pieces (complete upper and complete under collars)Step 4.
pin your upper and under collars, right sides together. also, sandwich your ribbon in between the 2 layers, making sure to only catch the edge of the ribbon in the corner seam. the left collar edge in the photo above is flipped back so you can see the placement of the ribbon, and the right collar edge is what it will look like after you place the collar on top.Step 5.
stitch all around the edges of the collar with a 1/2” seam allowance. make sure to leave a gap of about 2” to turn.Step 6.
trim your edges to 1/4". clip curves and trim across corners. press seams open.Step 7.
turn your collar right side out (through the hole) and use something sharp (a turning stick if you have one, otherwise a chopstick or knitting needle works great) to go all along the edges and especially corners to make sure it’s completely turned out all of the way. press flat.Step 8.
hand stitch up the hole that you used to turn the collar using a blindstitch. basically just keep stitching the hole with the placement i have the needle above (where your thread stays on the inside and is invisible from the outside). if you need more guidance, here’s a nice short blindstitch video.Step 9.
topstitch all along the edges. you’re done!this collar is pretty basic, but there are so many variations you could do.
make it in a bright print fabric
use a contrasting thread for topstitching
make it oversized
make the edges scalloped
if you make the collar, let me know! send me photos! and you can also check out my other patterns and tutorials.
5 comments:
cute! I love the dresses in the top pic
Oh my goodness - this is gorgeous and perfect! Thank you so much for sharing ^^
I was just on my way to sew my first peter pan collar. Your post was very helpful. Thanks for sharing!
You should check within a couple of days whether I pulled it off as good as yours :))
http://sewingyourstyle.tumblr.com
Thank you for posting this - I made about 6 collar patterns and none of them were working! You'd think it would be simple...! mel
Post a Comment