
we did A LOT of experimenting on designs and found out by trial and error the ones we liked the best.
the dye
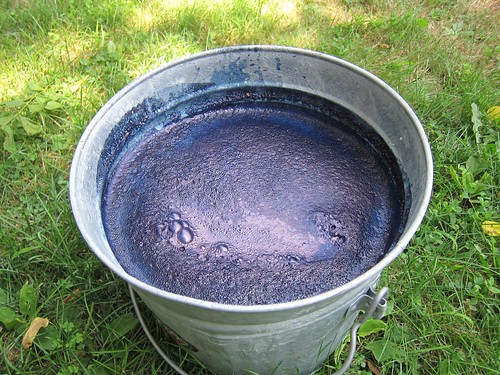
we used two types of dye. RIT dye (front) and this indigo kit (back). in the end the colors were a little different. the RIT was more of a navy blue, and indigo more…well…indigo. the indigo kit also is a mixture of dye plus soda ash which we think helps keep the color after mulitple washings (this could be made up information).
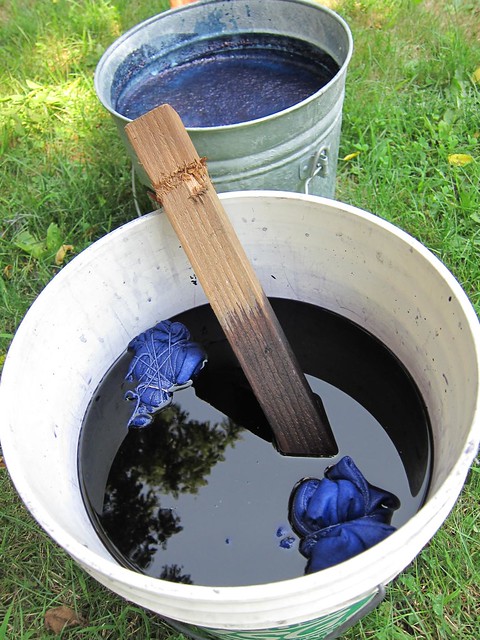
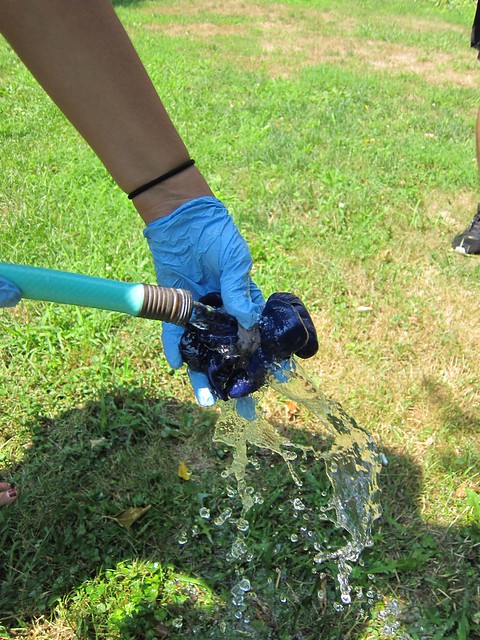
and the process for each is different. with the RIT dye, you simply leave your garments in the dye for 30 to 60 minutes, rinse and dry. with the indigo kit (below), your dye is actually lime green (underneath the top layer of bubbly blue) and you dip your garment in for 1 minute, and it turns lime green as well. then you open it up, and let it oxidize for 20 minutes, during which time the indigo slowly turns blue.
after using both, we really liked the indigo kit much better than the RIT dye. you could see your results after a few minutes, the coloring was better, and we're guessing the color is going to stay in longer after washings. plus it was pretty fun to watch it turn from lime green to blue.
the wrapping
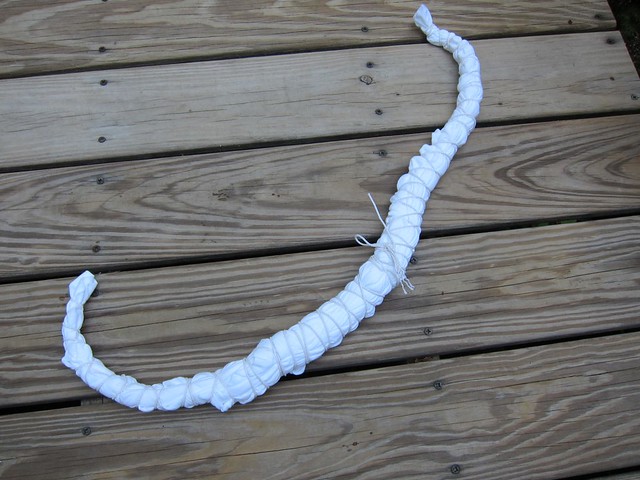
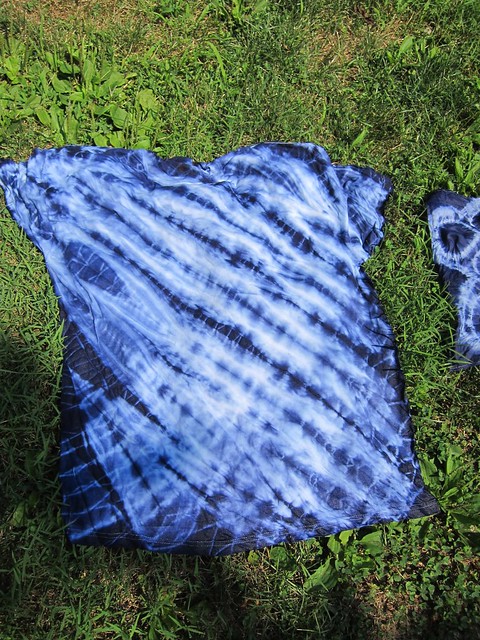
wrapped around a stick
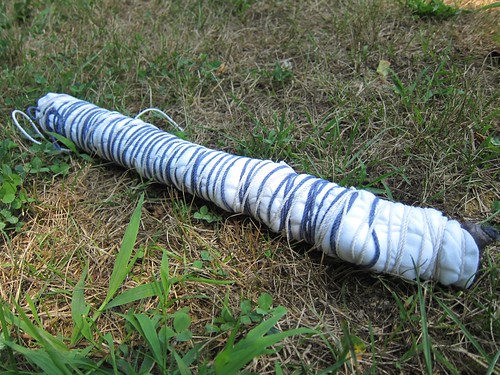
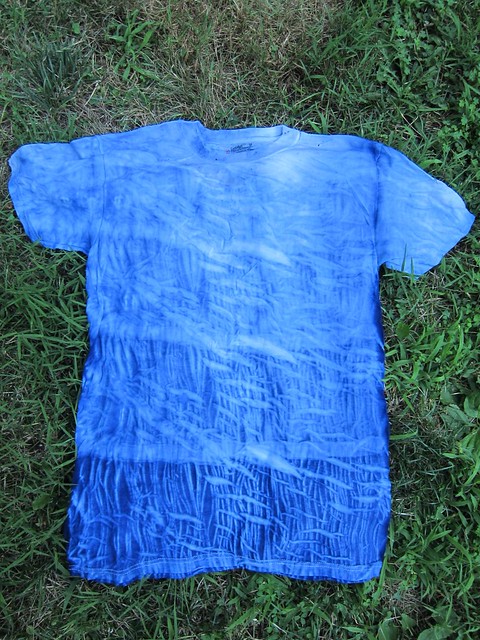
this method is done by wrapping your garment around a stick, then wrapping the outside of the gamment tightly and closely with string. it produces a twiglike etched print, and also an hombre like dye print (a gradient shading). i wrapped this one horizontally, but you could also do it vertically. whichever end you start wrapping around the stick is going to be your lightest, and the end will be your darkest dyed. it produces a design like this:
accordian fold between 2 wooden slats
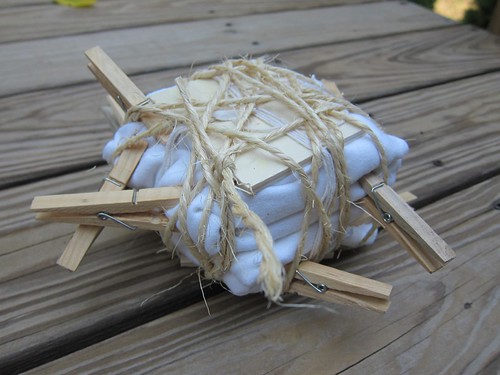
this method you start at one end and fold your fabric back and forth, accordian style. then fold it accordian style lengthwise. put flat slats on both sides and tie it tightly with a few strings. some variations:
*make your accordian folds perfect and you'll get perfect rectangular white blocks on your fabric.
*make your accordian folds sloppy and you'll get a pretty curved bamboo stick design.
*use wooden slats on both ends before tying and you get more white in your rectangles.
*skip the wooden slats and just tie up your fabric and you get a lot more dye that seeps in (i.e. more color, less white).
it comes out a little something like this:
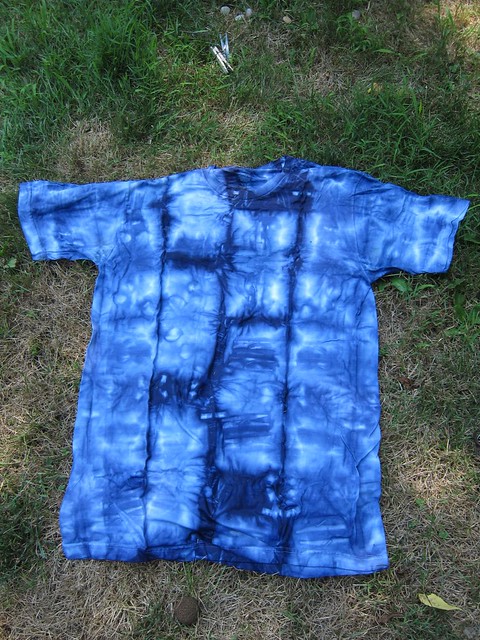
according fold tied with strings
for this one, i accordion-folded across a shirt, starting with the bottom corner and going diagonally up to the top shoulder. then tied it over and over with tight strings. it produced this:
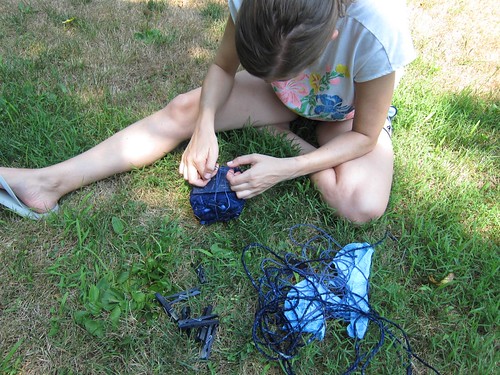
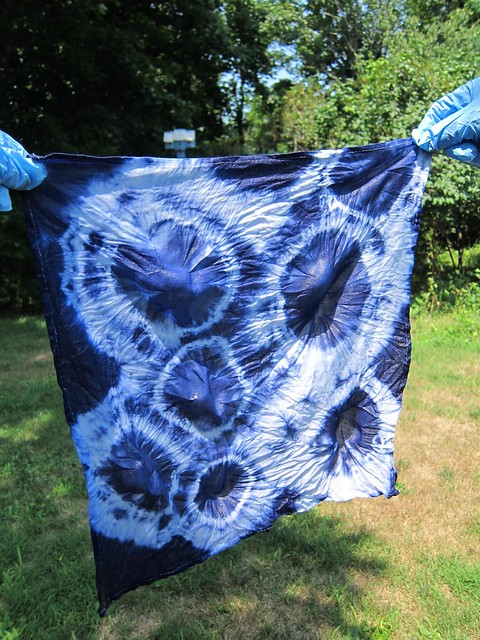
wrapped pebbles
for this method, tie rubber bands around single rocks, with all of them clumped together...and final rubber band around the base of all of the wrappings. this one produces a circular design:
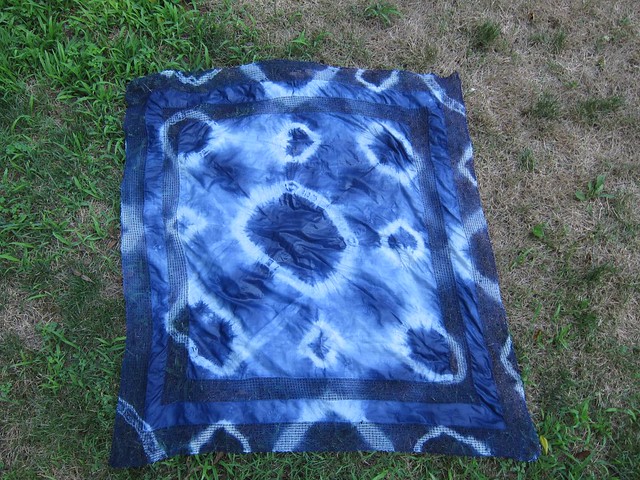
flag fold
this one isn't exactly shibori, but more of a free-style. wrap your fabric up like you would fold a flag, then tie strings tightly around the 3 corners. it produces a pretty design with circles and blocks of color. not a before photo on this one, but here's the finished product:
after everything, we realized one of the best techniques for getting even color and producing the best effects was folding accordion-style, and experimenting with different tying styles (with slats, without slats, neat accordion folds, or messy folds) to get varied results.
No comments:
Post a Comment